Enter your email address to get latest updates

Showing posts with label Frozen Treats. Show all posts

Jul 5, 2010

Soy Milkshake and Pops

I never used soy milk in my cooking or tasted it before. I used it for the first time to make milkshake and ice pops and everyone in my family liked the taste. A perfect treat for this hot summer!!


Ingredients: (Perfect for 4 cups milkshake and 4 Ice Pops)

  • 4 cups Soy Milk
  • 6 Strawberries, stems removed
  • 2 ripe Bananas, skin peeled off
  • ½ cup Sugar (I used Brown Sugar but regular sugar is fine)

Preparation:

Milkshake:

Just add all the ingredients in a blender and blend until smooth. Pour into individual glasses, garnish with slivered almonds (optional) and enjoy.


Ice Pops:

Pour the remaining milkshake into four ice pop molds and freeze until set (approx. 4 to 6 hours).

Soy Milkshake and Pops

To unmold these pops, just place the mold in warm water for 2 seconds or place under running water from the tap. They come out easily after 2 seconds.

Enjoy these yummy, healthy popsicles on a hot summer day!! 
Continue Reading....

Jan 21, 2010

Easy Chocolate Mousse - For A Belated Birthday


Does anyone forget their own birthday? I did, I mean my blog did!! She completed 2 whole years this 16th and forgot to celebrate it. Can you believe that? Yes, my blog entered terrible twos on January 16th. Belated Happy Birthday to “Trendy Relish or Essence of Andhra (as it was previously called)”. So let me celebrate this happy occasion with a sweet/dessert. :)

Ingredients:

• 2 cups Semi Sweet Chocolate Morsels
• 1 can Sweetened Condensed Milk
• 1 tsp Vanilla Essence


Preparation:

Heat a non-stick pan. Then add chocolate chips + condensed milk and keep stirring on med-low flame until chocolate chips melt and both contents blend well.

Stir in vanilla and turn off the flame. Spoon in the contents to individual glasses and refrigerate for an hour and serve.

Enjoy the yummy chocolate mousse. You would love it!!
Continue Reading....

Aug 16, 2009

Berry – Cherry Pops – Super Healthy

Here is why I called these pops super healthy:

Strawberries – These are rich in Vitamin C, Vitamin K, manganese, folic acid, potassium, riboflavin, vitamin B5, vitamin B6, copper, magnesium, and omega-3 fatty acids. Strawberries are proved to cure certain cancers, rheumatism, and constipation. They help in removing harmful toxins from the blood.

Cherries - These are rich in Vitamins C and A. Helps in preventing heart diseases. They also help in relieving pain from arthritis and headaches. In recent studies, it was proven that cherries help in weight loss too as they are low in calories, low in fat and contain a high percentage of water.

Milk - Rich in Calcium that helps build stronger bones so that reducing the risk of osteoporosis. It helps to develop good immune system. Milk even proved to provide healthy teeth.

Flax Seed Powder – These are rich in Omega 3 fatty acids, thus promoting bone health. They help reduce high blood pressure. Apart from these there are many fabulous health benefits of Flax Seeds. If interested to know more, please read here.

Ingredients:

  • 3 cups Cherries, washed and deseeded
  • 1 cup Strawberries, washed
  • 2 cups Milk, fat free
  • 1 tbsp Flax Seed Powder

Preparation:

Blend cherries + strawberries until smooth. Add milk and flax seed powder and blend again.

Note: I didn’t add any sugar to this, so it wasn’t so sweet. If anyone wants too sweet a small amount of sugar can be added while blending.

Filter the contents to remove excess pulp. Pour into ice pop moulds and freeze until set (approx. 4 to 6 hours).

To unmold these pops, just place the mold in warm water for 2 seconds or place under running water from the tap. They come out easily after 2 seconds.

Enjoy these yummy, healthy popsicles on a hot summer day or whenever you wish.

As I used milk in this recipe, I am sending this to “Fall In Love – Milk”, hosted by Sanghi.

I am also sending this to "Cooking For Kids: Evening Snacks", hosted by Divya. This event is originally started by Sharmi of Neivedyam. Thanks for reminding me about the event Divya!!

Continue Reading....

Jul 23, 2009

Yogurt – Fruit Pops

Hi Friends, how are you all? Isn’t it a long time since I posted a recipe? Now I am back into action. I’ll catch up with all your yummy posts soon!!

Coming to today’s post, I prepared these yogurt pops when my sister’s family was here with us. Everyone (especially kids) enjoyed the taste of these pops. I used “Oikos organic Greek yogurt” that has honey on the bottom for making these pops. Do you remember my previous post on Oikos organic yogurt? I really like the taste and goodness of this yogurt.

Ingredients:

  • ½ cup Oikos Organic Greek Yogurt (with Honey at the bottom) (5.3 oz)
  • Some Cantaloupe pieces, skin removed (approx. 2 cups) (can be substituted with any fruit of your choice)
  • Sugar as needed (optional)
  • ½ tsp Vanilla Essence (optional)

Preparation:

Place fruit pieces in a blender and blend until smooth. Add yogurt + vanilla essence and blend again until smooth. Add little water if needed. If you want more sweet, add some sugar while blending.

Now it becomes like a smoothie. You can just drink it out or pour into ice pop molds and freeze until set, up to 4 – 6 hours.

To unmold these pops, just place the mold in warm water for 2 seconds or place under running water from the tap. They come out easily after 2 seconds.

Enjoy these yummy yogurt pops on a hot evening.


On a Happy Note:

Do you remember the fun event “Challenge” hosted by Veda Murthy? I was lucky to be one of the winners of this challenging event. I had the pleasure of receiving the beautiful rather artistic gift from Veda during my summer break. It was a hand-made art piece prepared by the very talented Veda!! Check her other blog, Kai Kriye, where she has displayed many of her creations and art. Thank you so much for such a valuable gift Veda! It beautified one of the walls in our family room. Everyone has been appreciating it. Thank you once again!!

Continue Reading....

Feb 22, 2009

Creamy Fudge

On Saturday we celebrated the housewarming party at our new house. We had a nice gathering and enjoyed every bit of the party. So I was so busy planning the menu and making the arrangements. I didn’t make any dish as it was a huge gathering, so ordered from the restaurant.

And you know what? This post happens to be 200th post!

Coming to today’s recipe, one day my daughter said she wants to prepare something sweet all by herself. She wanted to bake something. I was reluctant at the beginning as I myself is a novice in baking, but said ok go ahead, I will help you in the process. But she rejected my help and said she wants to do it all by herself. How can anybody trust a 9 yr old and leave the entire kitchen to herself? We argued a little bit and she said I could help her if she finds it’s difficult for her to manage. So I googled for an easy recipe for her baking experiment, but landed on this yummy recipe that involved no baking (phew!). She liked the recipe too! So here is the creamy fudge my daughter prepared entirely (I was peeking though)! I helped her with the stove and the can-opening. It turned out so delicious and she got thumbs up from everyone for her culinary adventure! Of course this is not her first adventure; she made this yummy Strawberry-Banana Smoothie that I published long back.


We got the original recipe from here and we used the readily prepared graham crust instead of making it from scratch.

Ingredients:

  • 9” Keebler Graham Pie Crust – 1

  • 1 can Sweetened Condensed Milk

  • 3 oz. Cream Cheese - Softened

  • 3 cup Semisweet Chocolate Chips

  • 1 ½ tsp Vanilla

Preparation:

Add chocolate chips + condensed milk + vanilla in a non-stick pan and stir until the chips are melted.

Remove from heat and stir in the cream cheese. Mix well.

Pour this mixture into the pie crust and spread evenly. Cover and store in the refrigerator until it becomes firm.

When done, cut into triangles and enjoy with whipped topping or just like that!

Don’t you think it looks yummy?


Continue Reading....

Oct 30, 2008

Pumpkin Gel Pie

Pumpkin Gel Pie


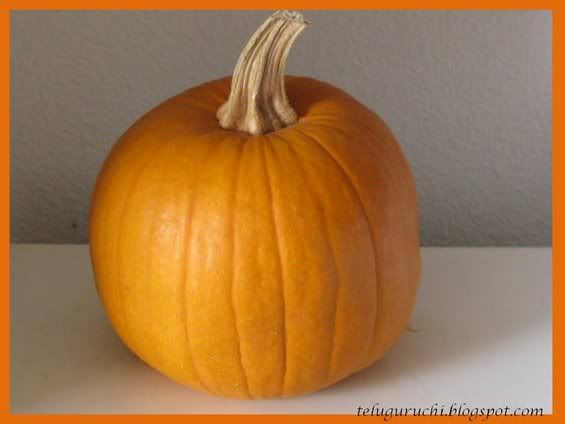
My little one recently visited a local pumpkin patch with her school and brought home a little pumpkin which is so cute like her! Look at the pumpkin! Isn’t it cute?

She placed the pumpkin in my hands and asked, “Mommy! Can you make me a pumpkin pie?” I told her OK and forgot about it. But she didn’t! Finally I decided to make the pie today and started searching for pumpkin pie recipes on the internet. Most of the pumpkin pie recipes involved lot of work. I am little lazy to do that much work to cook something. So I wanted to make something easier, but definitely a pie! With some imagination, I came out with this recipe that looked good and tasted great!

Pumpkin Gel Pie

Ingredients:

  • 1 small pumpkin (like in the picture) (makes 2 cups of pulp)
  • 1 tbsp unflavored Gelatin 2 tsp Agar Agar
  • 1 tsp Vanilla Extract
  • ½ cup Sugar
  • 1 cup boiling Water
  • 1 (9 inch) graham cracker crust (prepared one)

Method:

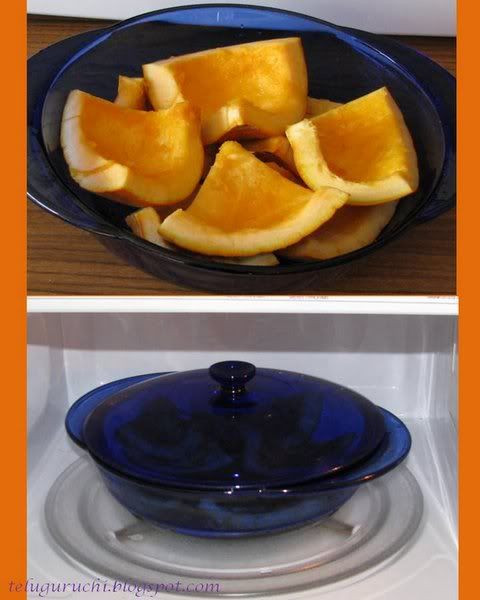
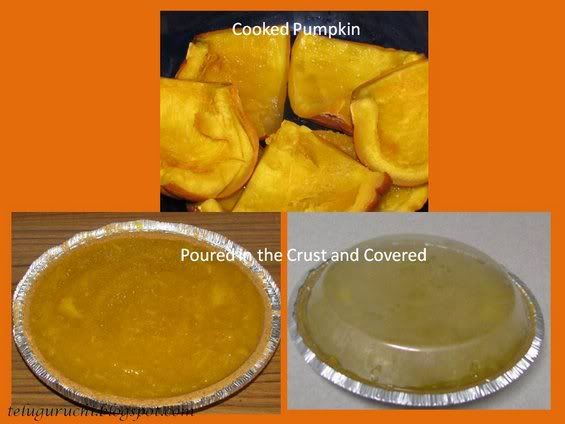
Wash the exterior of the pumpkin, remove the stalk and cut it into half like in the picture.

Remove the seeds and the stringy stuff inside by scraping with an ice cream scoop. I saved the seeds to make spicy pumpkin seeds powder, that goes well with rice.

Pour a cup of water in a microwave safe bowl and place the pumpkin pieces in it. If the pieces are too big to fit in the bowl, cut them into little pieces. Then cover the bowl and microwave on high power for 15 minutes.


Check if the pumpkin is soft and easy to be scooped out. If not, increase the time as needed. Leave the bowl for some time till the pumpkin pieces are cool enough to touch. Then scoop out the flesh, mash well with a fork until it becomes soft and fluffy. Add little water if needed. Then add the vanilla extract and mix well. Keep aside.

Later prepare the gelatin agar agar mixture. Mix gelatin agar agar and sugar in a small bowl. Add boiling water to it and stir it untilgelatin agar agar completely dissolves.

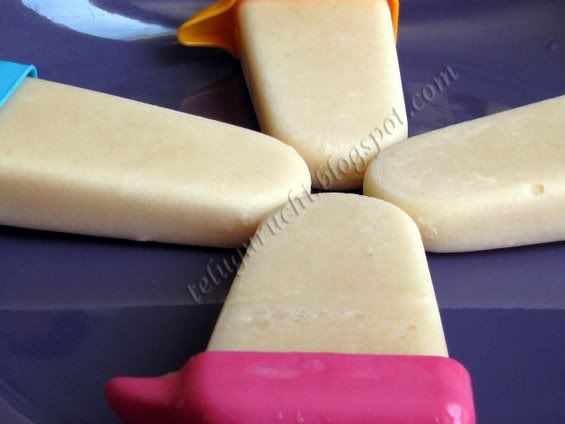
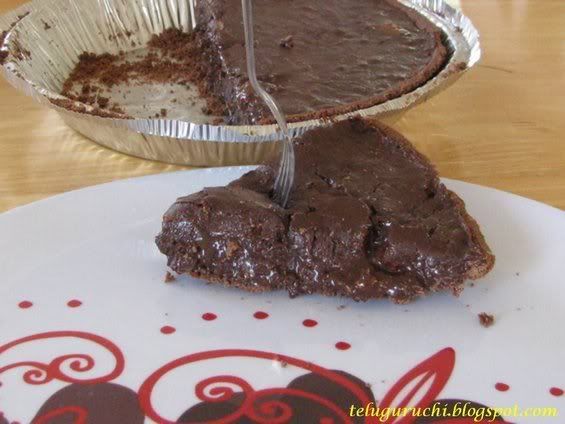
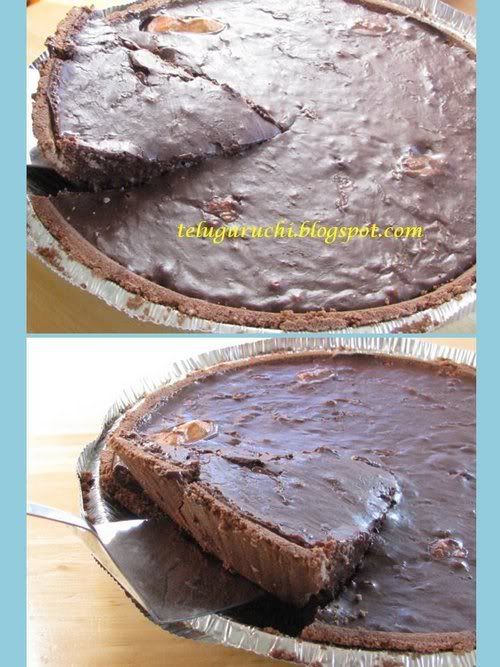
Add the gelatin agar agar mixture to the pumpkin mixture and mix well with a spoon. Pour this into the prepared crust. Refrigerate until the pie sets and becomes firm, approximately about 3 hours.

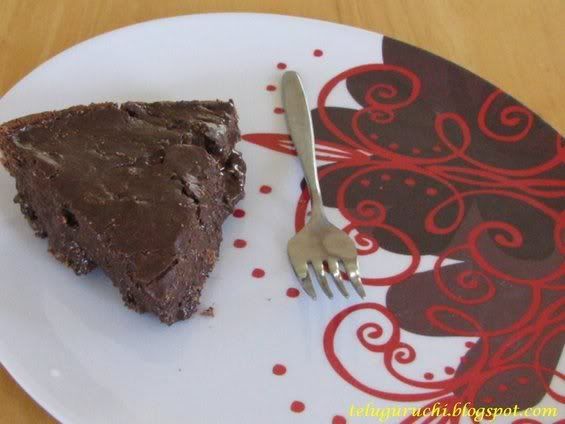
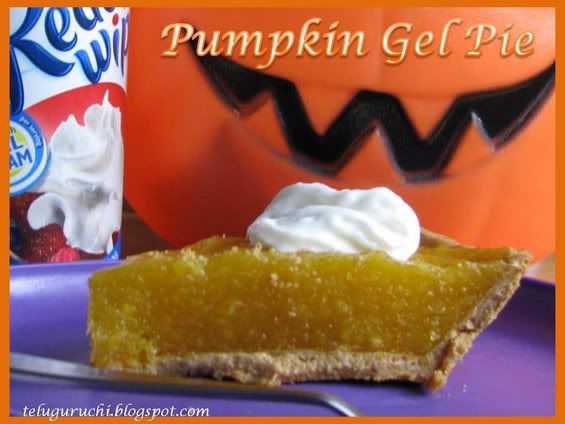
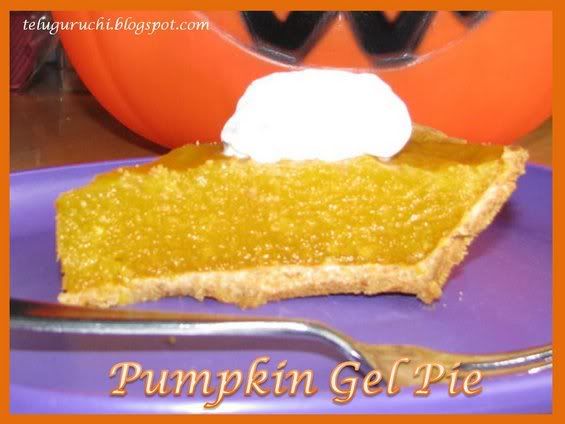
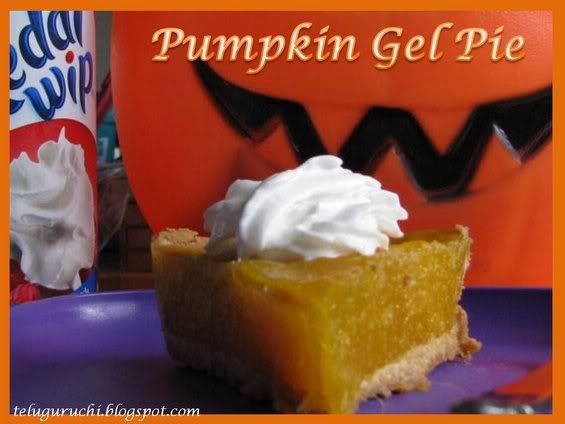
Garnish with whipping cream and enjoy.

My Notes: As I used only ½ cup of sugar in this recipe, the pie didn’t taste so sweet. I think we better add 1 cup of sugar to make it sweeter.

Pumpkin Gel Pie

This is my contribution for Madhuram’s “AFAM: Pumpkin” event. “A Fruit A Month (AFAM)” was the brainchild of Maheswari.

I am also sending the Pumpkin Seeds Powder, which I posted long back to the above event.

On a different note:

Thanks Priya and Rekha for passing the “chocoholic award” to me. So sweet of you!

Who can resist chocolates! I haven’t made any recipes with chocolates though! I always buy those from the store. White chocolate is my most favorite kind of chocolate.

I would like to pass this award to:

Madhuram

Medhaa

Meera

Red Chilies

Rosie

Sia

Congratulations Friends!

And I also would like to thanks Daily Meals for passing me the “Butterfly Award”. Thanks for your nice gesture DM!

Continue Reading....

Oct 26, 2008

Coconut Pudding

Coconut Pudding

After I made Coconut Cookies for Madhuram’s “Egg Replacement Event”, I had some left over silken tofu. Then I remembered Vaishali’s “Sweet Vegan” event and googled for different vegan recipes and found this coconut pudding recipe here. So adopted this recipe and made this delicious pudding.


Ingredients: (Makes 4 servings)

  • 1 lb. Silken Tofu

  • ½ cup Sugar

  • ½ tsp. Vanilla Extract

  • ½ cup shredded Coconut (fresh or dry)

Coconut Pudding


Method:


Mix tofu + sugar + vanilla extract in a blender and blend until creamy and soft.

Then transfer this tofu mixture to a bowl and add the coconut and mix well.

Pour into individual bowls or glasses and chill in a refrigerator for an hour or so.

Serve topped with chocolate sauce for extra treat. But this is just optional. It tastes great as it is without any sauce too!

Cocount Pudding


This is my contribution to Vaishali’s “Sweet Vegan” event.


I am also sending this to “Sunday Snacks - Fix It” event hosted by Pallavi.

On a different note:

Thank you Ramya and Priya for passing me the "hard working food blogger" award. I appreciate for your nice gesture. This award goes to all the food bloggers who work so hard to present yummy recipes.

Continue Reading....

May 21, 2008

Bread Custard


Let me take you into my innovative dessert. This is the first time I made this and it turned out so good.

Ingredients:
  • 2 slices of bread
  • 2 cups milk
  • 3 tsp custard powder + ¼ cup water
  • ½ cup sugar or according to individual taste
  • ½ tsp Cardamom
  • Some broken cashews
  • Some raisins
  • 1 tsp ghee

Preparation:


Toast the bread slices in a toaster and break them into small pieces. Keep aside.

In a bowl heat ghee and add cashews and fry till they turn golden brown.

Then add the bread pieces along with the cardamom seeds, raisins and fry well.

Later add milk and sugar to the bread mixture and stir well. Keep on low flame.

In a small bowl, mix the custard powder with the water and stir well so that the liquid is smooth.
Add this custard solution to the milk + bread mixture and mix well.

Keep this on the flame for some time until the mixture becomes thick and the bread absorbs all the milk.

Turn off the flame and transfer the contents to a different bowl, cover and refrigerate for 3 hours or until the custard sets.

This tastes better when eaten cold.


This is my contribution to “Think Spice: Think Cardamom Event” being hosted by dear Easy Crafts of Simple Indian Food. The Think Spice event is the brainchild of Sunita of Sunita’s World.


It’s raining awards in the blogosphere. I am so happy that dear blogger friends are thinking about me while passing the awards. Thank you so much dear friends for these awards. I will present these awards in my next post once I make up my mind on choosing the friends to pass these on (you know, how hard it is!).
Continue Reading....

Feb 13, 2008

It’s Valentine’s Day!


Here are two specials I have made for this Valentine’s Day!


AS EASY AS A PIE – Orange Gel Pie


Ingredients I have used:
  • Keebler Shortbread Crust – 9-inch size
  • Jello Orange Flavoured Gelatin – 3.5 Oz pack
  • Water 2 cups

Preparation:

The preparation of this pie is as easy as the ingredients.

  1. Boil water, add the gelatin powder to the hot water and mix well.
  2. When the gelatin mixture is still hot pour carefully into the Crust. Leave it for some time. Then cover the crust and place in the refrigerator for 3 or 4 hours or until set.
  3. Now the Orange Gel Pie is ready. Garnish it with your favorite icing or whipping cream.


Don’t you think this is the easiest pie? This is simple, easy and tastes great too.

COOKIE ANYONE? – Butter Cookies


This is one more easiest cookie recipe. These cookies are a hit in our family. Here is the recipe.

Ingredients:
  • 4 cups Pillsbury Classic White Cake Mix
  • ½ tsp Baking Powder
  • 1½ stick unsalted Butter, softened
  • 1 cup Sugar
  • 1 Egg

Preparation:

Mix butter and sugar in a bowl and beat them together with an electric hand mixer (or manual egg beater will do) at medium-high speed until fluffy. Beat in egg too. Finally add the cake mix flour to this and mix until just combined. The dough should be soft and fluffy. Preheat oven (I used toaster oven) to 375 degrees F.

Meanwhile roll the dough into a thick round shape using a roller. Using a heart-shaped cookie cutter, cut shapes in the rolled dough. Arrange them on an ungreased baking sheet about an inch apart.

When the oven is preheated, place the baking sheet and bake for 12 to 15 minutes or until they are golden brown. Cool them for some time on cooling racks or on a plate. Repeat the above process with remaining dough.

Garnish the cookies with your favorite icing, sprinkles etc.

My 8-year old daughter who has helped me throughout the cookie making process decorated my cookies. She is a great helper.

I am sending these Valentine’s Day entries to Pooja’s “Theme of the Week – Valentine’s Day”.


Once again, a very happy Valentine’s Day to you all!
Continue Reading....
Related Posts Plugin for WordPress, Blogger...